| Version 23 (modified by , 3 years ago) ( diff ) |
|---|
Vehicular AI Agent Development
Developing and Testing Vehicular AI Agents
Team: William Ching, Romany Ebrhem, Aditya Kaushik Jonnavittula, Vibodh Singh, Haejin Song, Eddie Ward, Donald Yubeaton
Project Advisor and Mentor: Professor Jorge Ortiz and Navid Salami Pargoo
Project Overview:
This project will create a realistic intersection simulation environment and use cutting-edge technology to design and implement it and analyze traffic data to improve its accuracy. Additionally, students will train an in-vehicle AI agent to interact with drivers and test its performance in different situations. Using a VR headset and remote control car with a first-person view camera, you’ll gain valuable insights into the capabilities and limitations of advanced AI agents.
Project Journey:
Hello 👋 and welcome to our page for our Research Project at WINLAB summer 2023! We are a passionate team of highly motivated students looking to make a meaningful impact and cultivate our knowledge. We have weekly team meetings on Mondays 12:00pm E.S.T and work with the Testing Vehicular AI Agent research team. We also have weekly presentations on Thursdays 2:00pm E.S.T to showcase our project milestones and achievements. You can use the table of contents below to navigate our page to review our work throughout the internship program.
Table of Contents
-- Week 1 Contents --
-- Week 2 Contents --
-- Week 3 Contents --
Week 1
Goals
- Team introductions
- Kickoff meetings
- Refining research questions
Summary
During the first week, We engaged in various activities to set the foundation for our research project. We came together and hold introductory meetings to foster collaboration and establish a common goal. We introduced ourselves, shared our backgrounds, and discussed our areas of expertise. We have reviewed and scoped the research goals and objectives. We identified the research questions and determined the specific outcomes we aim to achieve.
In addition, we explored the existing literature space and conducted initial research to gather relevant information and insights related to our research project. We delved into previous studies, scholarly articles, and other resources to understand the current state of knowledge in our research area.
Overall, the first week involved team introductions, goal clarification, literature review, scheduling, and establishing research protocols to lay the groundwork for a productive and successful research project.
Next Steps
- Read CARLA (Car Learning to Act) Documentation
- Learn about how we can set up Carla to simulate real-world traffic scenarios
- Become familiar using Orbit Lab machines
Resources
- [Week 1 Slides Here]
- [Poster Abstract: Multi-sensor Fusion for In-cabin Vehicular Sensing Applications]
- [Learning When Agents Can Talk to Drivers Using the INAGT Dataset and Multisensor Fusion]
- [Toward an Adaptive Situational Awareness Support System for Urban Driving]
Week 2
Goals
- Learn about CARLA simulator
- Set up CARLA simulator on nodes / machines of Orbit Lab
- Learn about sensors in CARLA simulator
Summary
During the second week, we started to refine the scope of the research project. We have also attended daily workshops to learn about various technologies, such as Linux, Python, ROS, etc. These workshop were highly relevant to our research project, especially when learning about the Python API that we will be using to interact with the Carla simulation. Because of the Introduction to Linux workshops, we have learned about the Orbit Lab and explored the use cases. We hope to be able to leverage the computing power on the nodes to run the CARLA simulator and train and/or finetune models.
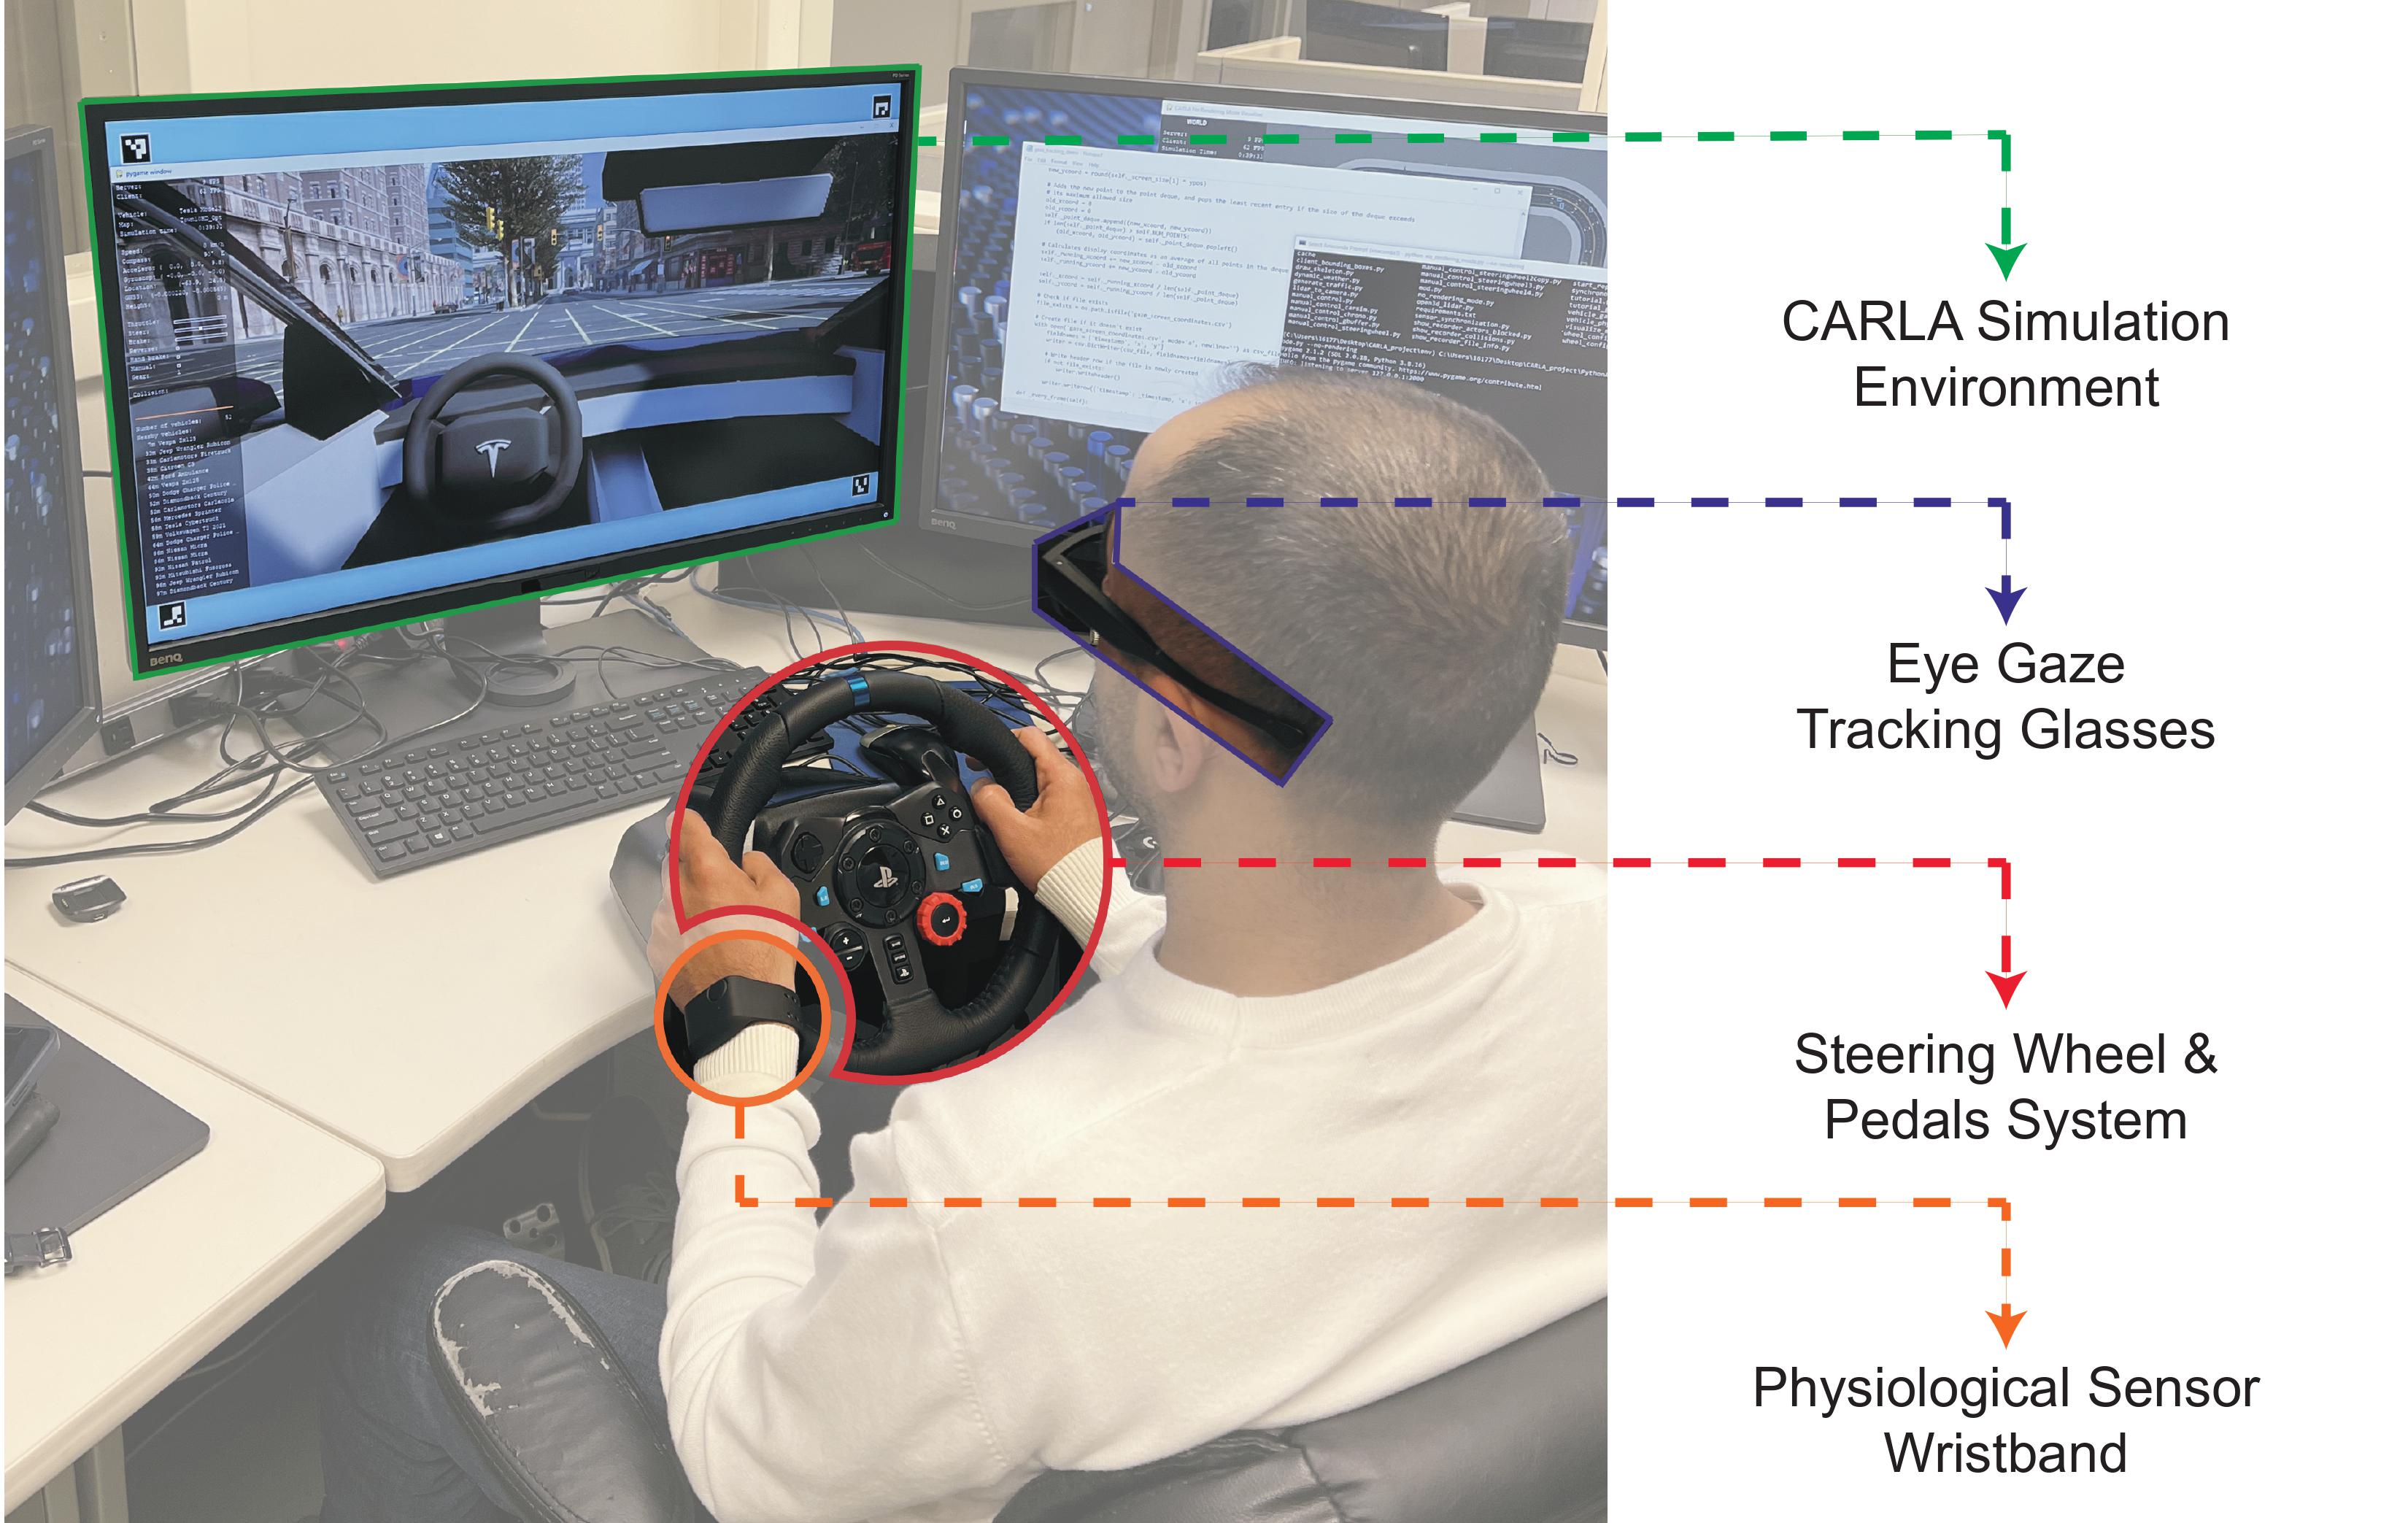
We have attempted to set up CARLA simulator on our own personal laptops. Setting up CARLA simulator on our own machines did not come without challenges. Not all of our machines had the capabilities or compute power to run the CARLA simulator. The dependencies to run CARLA simulator is strict with versioning and not all of us had the correct versions for the dependencies (e.g. There is currently no support for Python 3.10 or later). After a team huddle, we were able to access the main computer at WINLAB with a simulated driving setup / rig and ran CARLA simulator. Upon running the CARLA Simulator, we explored the many sensors in CARLA. We have experimented with data collection and data visualization.
Once we became familar with the CARLA architecture, we began to brainstorm our data collection process. We planned to use PostgreSQL as our database for storing sensor data, along with a REST API.


The first image shows CARLA Logo (Source: CARLA Page). The second image shows the rig / setup of the main computer for running CARLA simulator (Source: [Poster Abstract: Multi-sensor Fusion for In-cabin Vehicular Sensing Applications]).
Next Steps
- Create Database and Schemas / models for data we plan to collect
- Create REST API
Resources
Week 3
Goals
- Set up REST API and database
- Fix data visualization from various CARLA camera sensors
Summary
During this week, we spent some time discussing how we will be storing the data that will be collected from CARLA sensors. We have decided to use Django along with django-rest-framework to create the REST API and connect it to our Postgres database. We were able to successfully implement the RGB image model/schema and successfully test the Create, Read, Update, and Delete operations with the RGB model. In other words, we are now able to store and retrieve RGB images from the database through the REST API.
While experimenting with CARLA cameras, we ran into some bugs where the image being collected was corrupted and did not display a clear image. The images appeared to be distorted with fast-moving horizontal stripes. Our team spent some time debugging the issue and reading between the lines of the code.


The first image shows Django-rest-framework's logo (Source: [django-rest-framework main page]). The second image shows the image distortion bug that we were getting as a result of visualizing the data from the RGB camera sensor in the CARLA simulator.

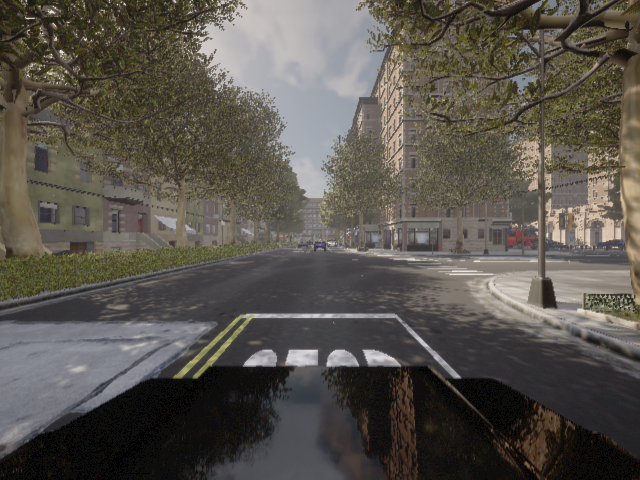
The image above shows a sample image that was successfully collected from the RGB Camera sensor in CARLA Simulator.
Next Steps
- Learn about Scenario Runner in CARLA
- Brainstorm some scenarios to set up in CARLA simulator
- Begin analyzing at PazNet architecture
Resources
Week 4
Goals
- Set up database on Orbit Node
- Computer vision in CARLA Simulator
- Understand Scenario Runner and create a basic Scenario
Summary
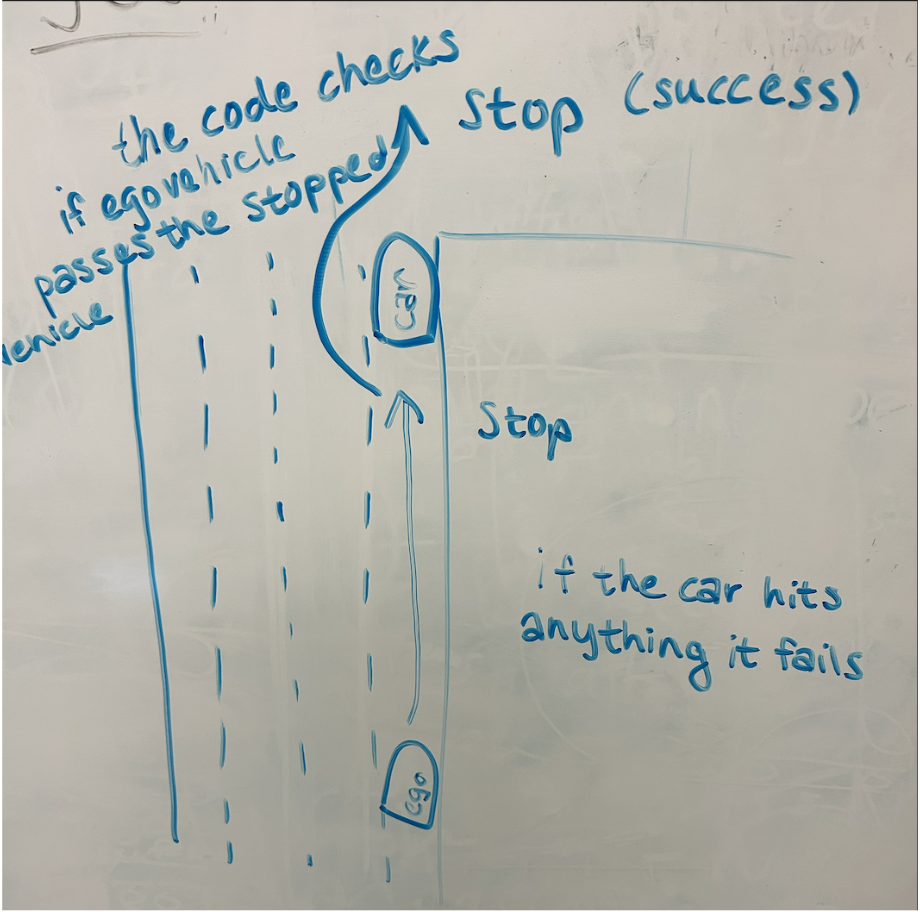
This week, we spent time understanding and learning the Scenario Runner dependency and implemented it with a basic scenario. Scenario runner allows us to create specific experiments where we can focus on collecting necessary data rather than using the free roam feature of the existing CARLA simulator. After spending time in the documentation and example code, we were able to create a simple route in which the ego vehicle has to drive forward, detect an obstacle, and get past it successfully.
We also worked on Computer vision to detect important elements in CARLA, such as traffic lights, other vehicles, and other common obstacles. Add more...


The first image shows Django-rest-framework's logo (Source: [django-rest-framework main page]). The second image shows the image distortion bug that we were getting as a result of visualizing the data from the RGB camera sensor in the CARLA simulator.

The image above shows a sample image that was successfully collected from the RGB Camera sensor in CARLA Simulator.
Next Steps
- Learn about Scenario Runner in CARLA
- Brainstorm some scenarios to set up in CARLA simulator
- Begin analyzing at PazNet architecture
Resources
Attachments (5)
- image_bug.png (450.7 KB ) - added by 3 years ago.
- 107-12.63882027566433.png (587.1 KB ) - added by 3 years ago.
- Untitled.mp4 (1.6 MB ) - added by 3 years ago.
- Screen Shot 2023-07-31 at 11.18.48 AM.png (1.2 MB ) - added by 3 years ago.
-
Untitled.gif
(10.6 MB
) - added by 3 years ago.
scenerio1gif
