
| Version 9 (modified by , 13 years ago) ( diff ) |
|---|
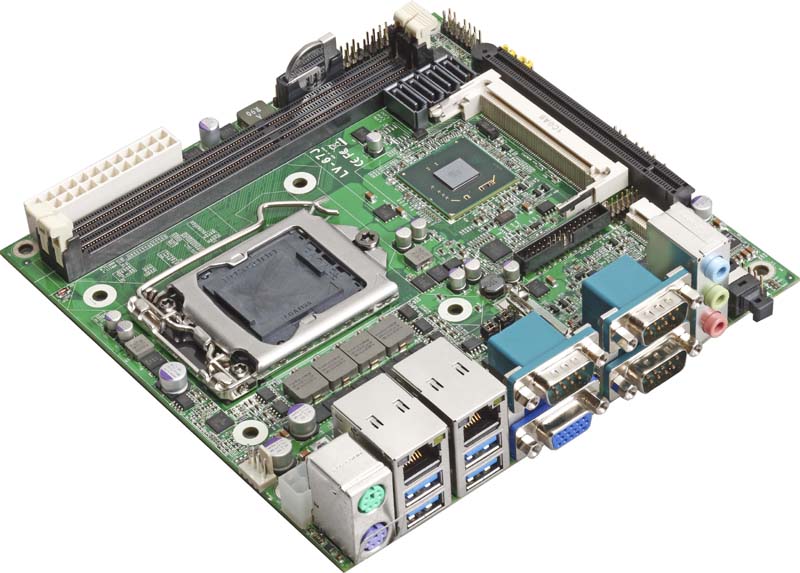
LV-67J
Table of Contents
LV67J
STUB
For use as console: Making Switch:
- Take switch from bin
- Cut 4 wires, 24awg, 2 black, 1 blue, 1 red
- Strip ends of wires, short on 1 side, about 1cm on other
- crimp short molex pins onto ends
- solder other ends to switch.
- Blue to terminal by mark (led positive)
- Black opposite it.
- Other two terminals get red and black, orientation doesn't matter. (switch)
- cut heat shrink to length, slide over wires down to terminal
- shrink
- twist wire pairs to keep separate
- plug pins into molex terminals.
- red/black to 2 pin
- blue/black to ends of 3 pin
BIOS Settings (bios version 1.1J):
- Main
- Boot Features (get right name)
- Quick Boot (ON)
- Console Redirection (ON)
- Terminal Type (ANSI)
- UEFI Boot (OFF)
- Boot Features (get right name)
- Advanced
- Processor Configuration
- Intel ® HT Technology (ON)
- Intel ® Virtualization Technology (ON) (Default)
- System Agent Configuration
- Intel VT for directed IO (ON)
- Network Configuration
- LAN OPROM Selection (ON)
- Wake on PCH LAN (OFF)
- AMT Configuration (Maybe needed, built in serial over lan?)
- SOL Terminal (ON)
- SOL Terminal Type (ANSI)
- Processor Configuration
Flashing BIOS
backup first
from readme: Flash Method:
- Please make a boot-able Disk which could booting into DOS environment.
- Un-zip attached files and copy it into boot-able Disk.
- Power on the system and flash the BIOS under the DOS environment.
- First, Backup the current BIOS FPT -D nodeXX-XX-bak.bin
- The instruction will be "C:/fpt -savemac -f 67J12.BIN"
- Please turn off the system and clean CMOS by Jumper.
- Turn on the system and update BIOS successful.
Attachments (1)
- LV-67J.jpg (78.8 KB ) - added by 13 years ago.
Download all attachments as: .zip
Note:
See TracWiki
for help on using the wiki.